HOME / SINGLE POST

More than merely taking images, photography is about creatively and uniquely documenting the world. Learning unique methods (such as bokeh or Macro) can help you to improve your photography to unprecedented levels whether your goal is to produce dreamy, blurry backgrounds or highlight the frequently missed little elements.
We will discuss several well-known photographic methods that every photographer should experiment in this article. Any camera may utilize these pointers; we will teach you how to get going using the Nikon D5200 as an example.
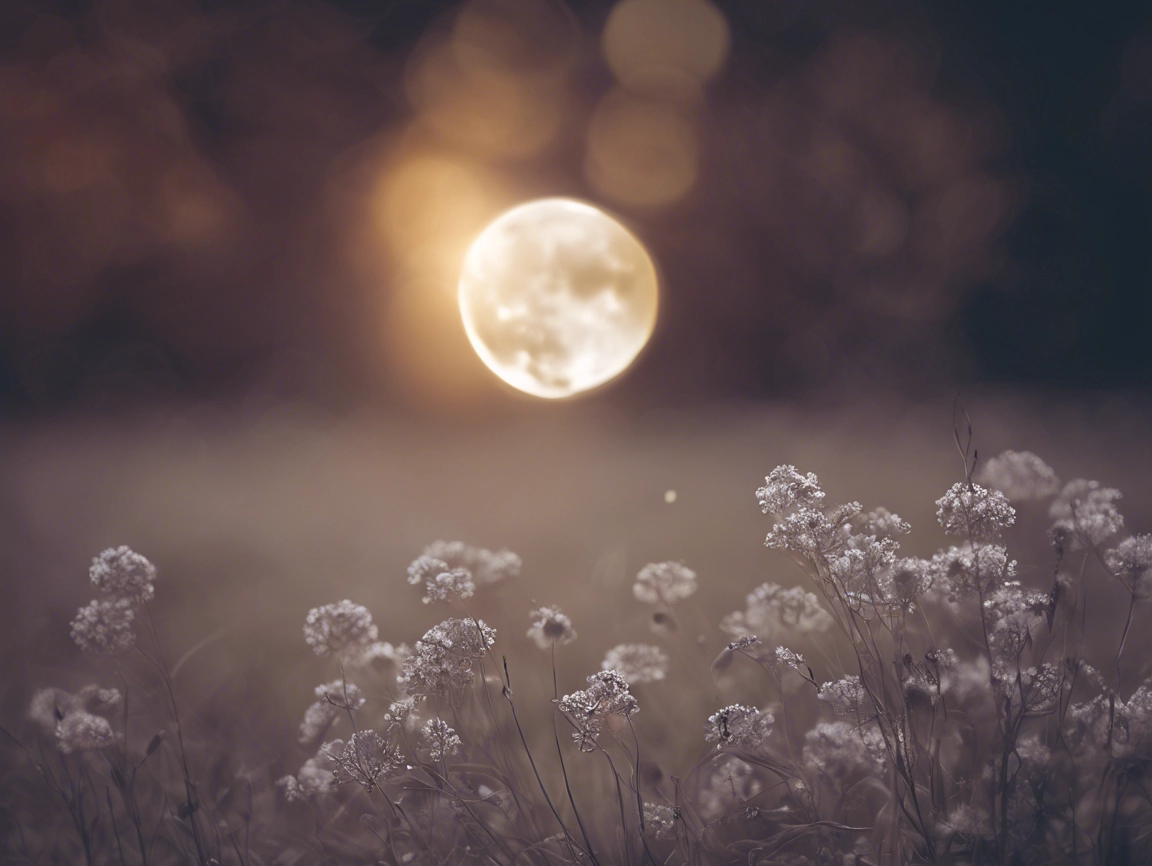
Bokeh is the term used to describe the pleasing blur in the out-of-focus areas of a photograph. It’s especially popular in portrait photography, where it helps make the subject stand out against a soft, dreamy background.
Tip: Lenses with large apertures, such as a 50mm f/1.8 or an 85mm f/1.4, are ideal for creating stunning bokeh.
Macro photography allows you to explore the world of tiny details, revealing the textures and patterns of small objects that might go unnoticed. Whether it’s the intricate design of a flower petal or the delicate wings of an insect, macro photography brings these details to life.
Tip: For extra sharpness, close down your aperture a bit (e.g., f/8 to f/11), but be mindful of the trade-off with available light and depth of field.
Photographing the full moon can be a rewarding challenge. It’s a striking subject that requires careful settings to capture its beauty without losing detail.
Tip: If you want to include the landscape in your shot, try photographing during moonrise or moonset when the moon is closer to the horizon and the light is softer.
A photographer’s tool of choice, filters let you adjust light, lower glare, and improve colors in his or her pictures. Circular Polarizer (CPL) and Neutral Density (ND) filters are two of the most often utilized ones.
Circular Polarizer (CPL): improves the colors in your picture by lowering reflections and glare from non-metallic objects, such as glass or water, therefore rendering bluer sky and greener greenery.
How to use : Just screw the filter onto your lens and turn it till you get the intended look. For landscape photography especially, CPL filters can very helpful.
Neutral Density (ND) Filter: An ND filter lowers the light entering the lens, therefore enabling you to utilize slower shutter speeds or wider apertures in bright settings. This is ideal for even daytime motion blur in clouds or water.
How to Use: Based on the amount of light you want to block—measured in stops—pick an ND filter. Put it on your lens, change your settings, and play around with lengthy exposures.
Tip : Keeping your filters clean will help to prevent undesired haze or artifacts in your pictures.
Using filters, bokeh, macro photography, moon photography, and other special photography methods can help your photographs go from average to spectacular. With some experience and experimenting, you will be able to employ these approaches to depict the environment in ways that really express your artistic vision.
These methods are flexible and match your style regardless of the camera you use—a Nikon D5200 or another. So take your camera, try out these methods, and see how they could improve your images!
Never miss any important news. Subscribe to our newsletter.